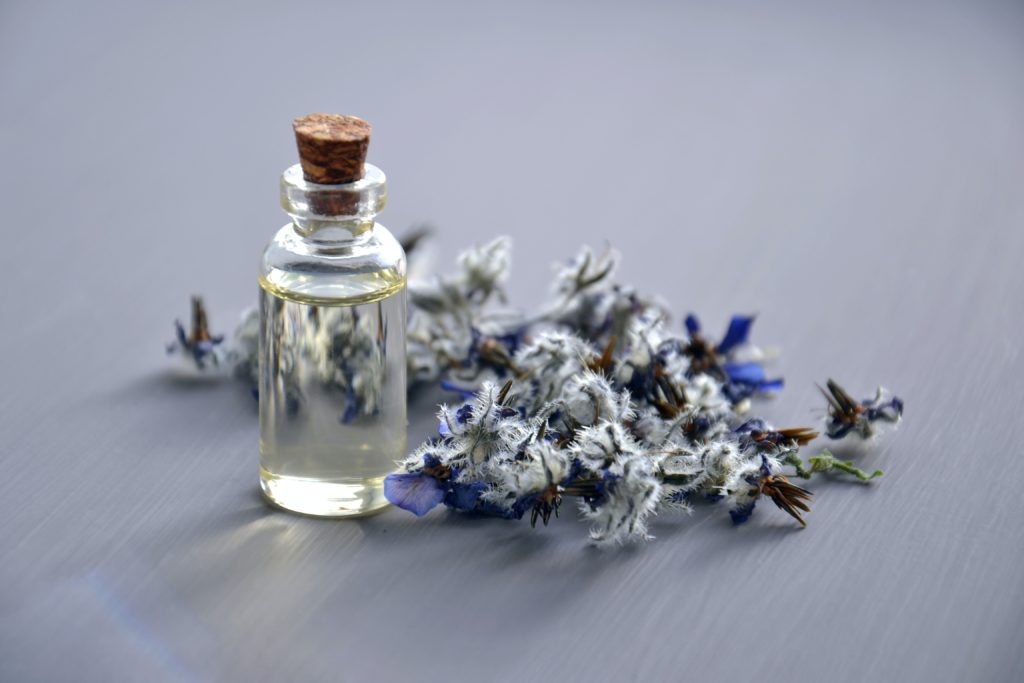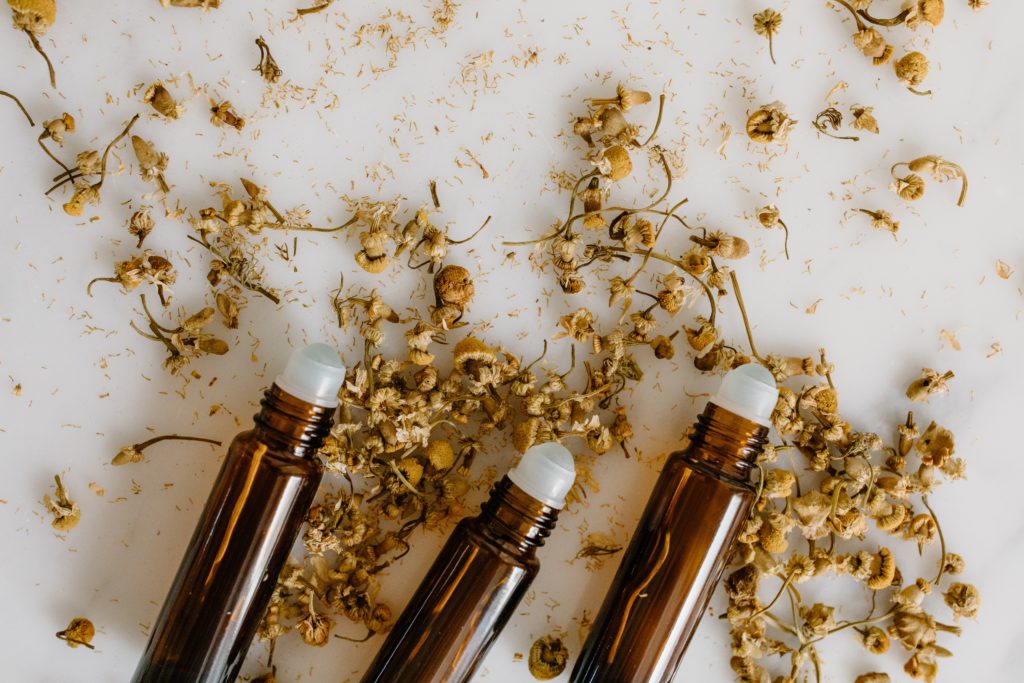
If you are getting into the market for natural essential oils, something you might consider are the best prices or where you can buy the best. Another alternative is to make your own. Here’s a walkthrough guide for your own essential oil recipes.
Making your own essential oil blends offers a plethora of benefits that go beyond the delightful aromas. By crafting your own unique combinations, you have complete control over the ingredients and their proportions, allowing you to personalize the scents to your preferences. This customization empowers you to create blends tailored to address specific needs, whether it’s promoting relaxation, boosting focus, or uplifting the mood. Additionally, crafting DIY essential oil blends gives you the opportunity to experiment and explore the vast array of aromatic possibilities. You can blend oils to create signature scents that evoke cherished memories or simply cater to your olfactory preferences. Not only is it a creative and satisfying process, but it also provides a cost-effective alternative to pre-made blends. Making your own essential oil blends allows you to harness the therapeutic benefits of aromatherapy while adding a touch of personalization and creativity to your self-care routine.
The Benefits of DIY Blending
When it comes to making your own essential oil blends, it’s crucial to prioritize safety considerations and adhere to proper dilution guidelines. Using essential oils undiluted can lead to skin irritation, sensitization, or other adverse effects because they are highly concentrated and potent substances. Diluting ensures that you properly mix essential oils with carrier oils or other suitable mediums to reduce their concentration and minimize the risk of irritation.
As a general guideline, experts commonly recommend a 2% dilution for adults, which means using approximately 12 drops of essential oil per ounce of carrier oil. However, dilution ratios may vary depending on factors such as the specific essential oil, intended use, and individual sensitivity. It’s important to consult verified sources, such as essential oil reference guides or aromatherapy experts, to determine appropriate dilution ratios for each essential oil and purpose. Additionally, understanding anything that makes the use of essential oils inadvisable for you personally, and being aware of any allergies or sensitivities is crucial for safe usage. By following proper dilution guidelines and considering safety precautions, you can enjoy the benefits of your homemade essential oil blends while ensuring a positive and safe aromatherapy experience.
Getting it Together
When starting down the path of making your own essential oil blends, having the right supplies and ingredients is essential for a successful and enjoyable experience. Some basic supplies you will need include dark glass bottles for storing your blends, preferably amber or cobalt blue to protect the oils from light degradation. Additionally, glass dropper bottles or roller bottles are useful for convenient and controlled application.
Carrier oils, such as jojoba oil, sweet almond oil, or fractionated coconut oil, are vital for diluting the essential oils and serving as a base for your blends. These carrier oils help to ensure proper absorption and minimize skin sensitivity. It’s also helpful to have measuring tools, such as a measuring cylinder, to accurately measure the essential oils and carrier oils. Furthermore, you may want to research detailed information about the properties on an herb and the oil it produces, instructions and guidelines for extraction, and oil-blending suggestions. Gathering these basic supplies and ingredients will equip you well to start your journey into creating your own delightful and customized essential oil blends.

Personal & Customized
Making your own essential oil roller blends allows you to harness the power of aromatherapy for various purposes, such as relaxation, focus, and energy. These roller blends are convenient and easy to use, providing a portable and mess-free application method. For relaxation, consider combining soothing oils like lavender, chamomile, and ylang-ylang. This blend can help promote calmness and ease stress.
To enhance focus and concentration, try combining essential oils such as peppermint, rosemary, and lemon. These stimulating oils can help sharpen the mind and improve mental clarity. For an energy boost, consider using invigorating oils like citrus oils (e.g., orange, grapefruit) or uplifting oils such as peppermint and eucalyptus. These blends can provide a revitalizing effect and promote feelings of alertness.
When making roller blends, dilute the essential oils with a carrier oil (many aromatherapists and natural skincare enthusiasts tend to recommend lighter, less processed plant-based oils like jojoba, sweet almond, or fractionated coconut oil as their preferred options.) and pour the mixture into a roller bottle. Simply apply the blend to your pulse points or temples for a quick and easy aromatherapy experience. Experiment with different essential oil combinations to find the scents that resonate with your desired mood or purpose. By creating your own essential oil roller blends, you have the flexibility to customize and enjoy the benefits of aromatherapy wherever and whenever you need it.
We can start with a couple of ways to extract oils that are commonplace: maceration and cold-pressing.
Maceration Method for Essential Oils
When using this method, always clean any flowers, herbs, or other plant parts before use. Now, depending on the plant fiber, that helps break down and release its compounds further. After finely dicing it, place the plant material in a clean, tight-sealed container, then completely submerge it in an oil, such as olive, almond, or jojoba. Remember to seal the container tightly to prevent exposure to air. Store the jar away in a cool and dark place because the compounds are sensitive to UV radiation, which degrades and distorts the aroma. This process overall should take several weeks to several months.
After the desired length of time passes, strain the infused oil with a sieve or cheesecloth. You might want to use a funnel to squeeze and filter the oil through into a clean, dark bottle with a tight-fitting lid. Be sure to label the bottle with the name of the plant material and the date of extraction. For cost-effectiveness, you may also use a sanitized clear glass bottle you have on hand with black vinyl tape bound around it.
Cold-Pressing Essential Oils
People use cold-pressing as a method to extract oil from the rinds of citrus fruits. This method is applying pressure to the fruit peel to release the oil without heat.
To begin with the process, choose a ripe citrus fruit with a thick rind. It should have a good aroma and be free from signs of decay. Clean and dry the fruit. Use a peeler to remove the outer colored portion of the fruit peel, being careful not to scrape out the white pith of the rind underneath.
After you finish, place the peels in a cold machine. Those can be expensive and may cost a few hundred dollars online, so for a cost-effective method you can use your hand or an object to rupture the oil sacs and squeeze out the oil droplets. It is basic and inexpensive, but it will be labor intensive.
A Few Essential Oil Recipes
Let’s list a few essential oil recipes you can make yourself, take care that you should be diluting essential oils in a carrier oil.
Peppermint Oil Recipe
- Take fresh peppermint leaves and dice them up and crush them, then put them in a glass jar with a tight lid.
- Cover the leaves with the oil you will use as a base. Close the jar tightly and shake.
- Let it sit for three days. Strain it out into a bowl and discard the used leaves. We recommend room temperature.
- Pack the jar with some more fresh leaves and pout the oil back in the jar. Add about 1.5 ounces of the base oil.
Lemon Oil Recipe
- Peel the lemon with a peeler, avoid the white pith underneath the yellow skin
- Add the yellow skin peels to a medium pot filled with olive oil as a carrier base
- Let that simmer over low heat for 15-20 minutes.
- Remove the oil from the heat and remove the peels through a strainer
- Transfer the oil to a resealable container.
Chamomile Oil Recipe
- Take a sterilized jar and fill it with dried chamomile flowers.
- Use your base oil for mixing, and fully cover the chamomile with that.
- Put the lid on tightly and place it in a windowsill, or another place where it will have 6-8 hours of light.
- Gently shake the bottle every day for a month.
- After 1 month, you should be able to filter the oil out through a sieve. Pour this into another jar and press the oil out of the chamomile residue as well.
I hope you find this a helpful list that explains oil extraction methods for you to make essential oils at home!
